It is crucial to clean threaded flanges to guarantee they will last long and work as expected. These essential parts are applied in many sectors such as the water systems, the oil and gas sector, and the chemical sector. Flange maintenance is not only important in increasing the lifespan of the flanges but also in guaranteeing safety and effectiveness of the systems that use the flanges. Below is a step by step guide on how to clean threaded flanges
Understanding Threaded Flanges
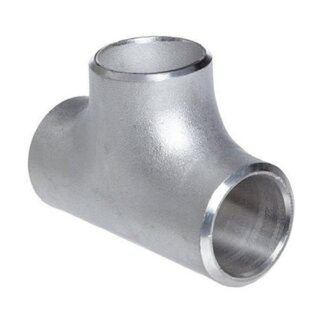
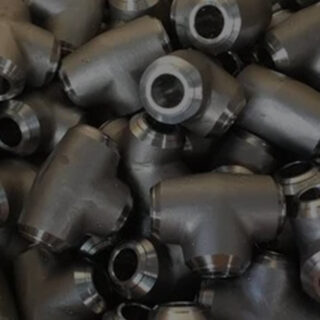
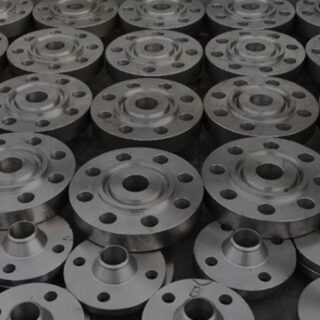
It is important to know what threaded flanges are and their use before proceeding to the cleaning process. Screwed flanges or threaded flanges have internal thread that screws onto the pipe with corresponding male thread. This design enables easy assembly without welding and they are suitable for high pressure and areas where welding is dangerous
Why Clean Threaded Flanges?
Cleaning of threaded flanges should be done frequently to ensure that dirt, grease and other contaminants do not accumulate on the flanges. Clean flanges guarantee a good seal and no leakage between the pipes. Furthermore, in areas where there are aggressive chemicals, cleaning assists in minimizing the formation of rust and corrosion hence increasing the durability of the flanges
Tools and Materials Needed
To clean threaded flanges, you will need the following tools and materials :
Wire brushes or pipe cleaners
Cleaning solvent or degreaser
Soft cloths or rags
Safety gloves and goggles
Compressed air canister (optional)
Rust remover (if necessary)
Anti-corrosion spray or lubricant
Step-by-Step Cleaning Process
Step 1 : Safety First
Cleaning of threaded flanges should be done frequently to ensure that dirt, grease and other contaminants do not accumulate on the flanges. Clean flanges guarantee a good seal and no leakage between the pipes. Furthermore, in areas where there are aggressive chemicals, cleaning assists in minimizing the formation of rust and corrosion hence increasing the durability of the flanges
Step 2 : Disassemble the Flange
If possible, disassemble the flange from the pipe or the system. This will make the cleaning process more thorough and manageable. Ensure you keep track of any gaskets or seals removed during this process, as they will need to be reassembled correctly
Step 3 : Initial Cleaning
Use a dry cloth or rag to wipe away any loose dirt, dust, or debris from the surface of the flange. For threaded areas, a wire brush or pipe cleaner is useful to remove any particles lodged in the threads
Step 4 : Apply Cleaning Solvent
Next, apply a cleaning solvent or degreaser to the flange. These products are specifically designed to break down grease and oil. Ensure the solvent reaches all areas, particularly the threaded sections. Allow the solvent to sit for a few minutes to loosen the grime
Step 5 : Scrubbing
Using a wire brush or pipe cleaner, scrub the flange thoroughly. Pay extra attention to the threaded sections, as dirt and grime often accumulate there. If the flange is heavily soiled, you might need to repeat this process multiple times
Step 6 : Rinse and Dry
Once the flange has been scrubbed clean, rinse it with clean water to remove any residual solvent. After rinsing, dry the flange immediately with a clean, dry cloth. For hard-to-reach areas, a compressed air canister can help blow away moisture and debris.
Step 7 : Rust Removal
If there are any signs of rust on the flange, apply a rust remover according to the product’s instructions. After the rust has been treated, ensure you rinse and dry the flange thoroughly
Step 8 : Preventive Measures
To protect the flange from future corrosion, apply a thin layer of anti-corrosion spray or lubricant. This will create a protective barrier against moisture and other corrosive elements
Step 9 : Reassembly
Carefully reassemble the flange back onto the pipe or system, ensuring all gaskets and seals are correctly positioned. Tighten the flange to the manufacturer’s specifications to ensure a secure connection
Maintenance Tips
Regular Inspections : Schedule regular inspections of your threaded flanges to check for signs of wear, corrosion, or build-up of debris. Early detection can prevent major issues.
Use Quality Products : Invest in high-quality cleaning solvents and lubricants. Cheaper alternatives may not provide the same level of protection and can sometimes cause more harm than good.
Proper Storage : If the flanges are not in use, store them in a dry, clean environment to prevent exposure to moisture and contaminants
Conclusion
Cleaning threaded flanges might seem like a tedious task, but it is crucial for maintaining the integrity and efficiency of your piping systems. By following these steps and incorporating regular maintenance routines, you can ensure that your flanges remain in optimal condition, providing reliable performance for years to come. Remember, a little effort in cleaning and maintenance can go a long way in preventing costly repairs and downtime
You can Contact EBY Fittings today at inquiry@ebyfasteners.com to know more about the Threaded Flange and their cleaning and maintenance